Whether you’re in it for the honey or to flourish your garden, beekeeping is an incredible outdoor hobby and a perfect opportunity to widen your nature-loving horizon. Moreover, the satisfaction of maintaining an entire functioning colony is un-bee-livable!
Unfortunately, for a beginner, it can be rather confusing to take up beekeeping, with all the terminology, conditions, and equipment required to sustain a healthy beehive. But today, we’ll be making things much easier for you with our simple yet informative guide on how to start beekeeping, so buckle up and let’s dive in!
Do Your Homework
The key to mastering beekeeping lies in building a solid foundation of knowledge that involves all aspects of this outdoor activity. Here are the major points you should be adding to your learning list:
- How Bees Work: the first thing you should learn about is, of course, the bees you’ll be taking care of. You want to have a general understanding of their biology, how they mate, and so on. The following are some basics you should know:
A honeybee colony consists of 3 types of bees: worker bees, drones, and one queen bee. The queen may lay up to 2,000 eggs per day and the whole hive can reach up to 50,000 bees depending on how big or small it is.
Bees will take whatever way is quickest to their food, this means that they’re likely to cross paths with humans and/or pets. During the flight, bees will defecate, soiling everything below with colored spots.
- How The Laws Work: make sure you’re aware of any laws regarding beekeeping in your state or neighborhood.
In many cases, a state will have a regulation obliging beekeepers to register their activity information and pay an annual fee. You should also check with your Homeowner’s Association for approval and abide by their rules.
If you have neighbors, you should confirm that they have no problems with your hobby and not in any way uncomfortable or seriously opposed to the matter. Bee a sensible neighbor.
Order Your Bees
After doing your research, it’s time to place your bees order. It’s important to do this early on as bee package suppliers start their sales in the winter to be delivered to beekeepers by spring, and so, you want to make your order in January or February to receive your bees around April or May depending on your local climate.
You also want to decide whether you’ll buy a package or a nucleus. A bee package is a small screen box accommodating about 10,000 bees with a queen bearing no relation to the other bees staying in a separate cage.
On the pricier side, a nuc is a mini colony where an actively laying queen already exists. A nucleus contains 5 frames of comb and is approximately 6 weeks more developed than a package.
There are a couple of other options such as catching yourself a swarm or buying an already-started hive, but the two choices above are the simpler routes.
Prepare The Hive
Now that you ordered your bees, you need to pick a hive system, either a Langstroth hive or a top-bar hive.
Most commonly used, the Langstroth hive is composed of a number of boxes stacked on top of one another. Each box contains frames where bees build combs and keep their honey. To gain access to the bees, harvest honey, or do some maintenance, you have to pull the boxes out like drawers. If your hive requires more space, boxes can be added vertically.
Alternatively, the top-bar hive system has frames arranged horizontally rather than vertically. The bars are pulled out of the hive from the top with comb and honey inside.
You can choose to build your own hive or simply order your preferred type online.
Check out our list of our top unassembled beehive kits to get you started fast.
Find The Right Location
When you’re looking for the perfect spot to place your hive, there are some tips that you should follow:
- Ideally, face the hive somewhere between the east and south directions. This allows for the sun to warm up the hive, especially in cold winters.
- Choose a sheltered area to avoid the wind, stay away from hilltops in particular.
- Keep away from low spots as they tend to hold cold air as well as humidity for a longer period.
- Have the entrance of the hive placed an area with minimal foot traffic. This is ultimately better for you, your friends and your bees.
- Make sure the chosen location provides enough shade in the summer.
- Set up a water source for the bees so that they don’t gravitate towards other contaminated sources.
- You can help out your bees by planting flowers and plants offering nectar and pollen to ensure their survival if food is scarce.
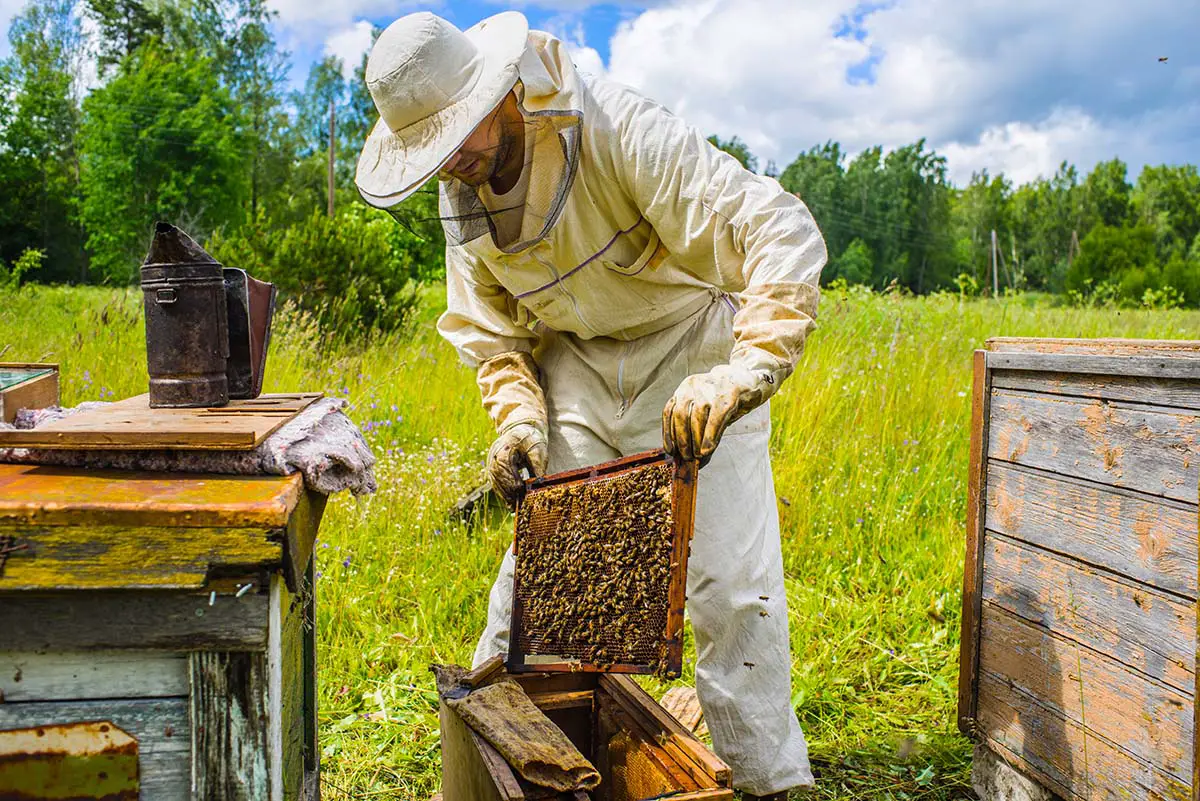
Gear Up
Obviously, you want to avoid stings at all costs. Although bees don’t usually get aggressive while being installed, they can get intimidated and riled up once settled in.
In any case, protective clothing is a must when you’re dealing with beehives, beginner or not. You’ll also need a protective veil and gloves with your clothes tucked in tight to cover your arms and legs.
This will help make you feel more comfortable and concentrated on your tasks instead of worrying and fidgeting the entire time.
Move The Bees In
Fast forward to when your bees arrive, now, the fun begins! You got your hive ready, so all that’s left is installing the bees. Consider this step your initiation into the beekeeping world.
According to your chosen system of hives, there may be some slight differences, but the process is essentially the same. You start by suiting up and getting all your equipment ready to go. Then you pry open the lid of the package hive with a special hive tool.
After that, you extract the queen, place it in your hive (there are several methods to do it), then shake other bees on top of the queen and they’ll do the rest by releasing pheromones to let all the remaining bees know their queen is here and that they’re home.
Keep Your Bees
As per the name, you need to keep your bees healthy and happy! Make sure you schedule periodic check-ups on the busy insects for activity and diseases. They won’t take up much of your time, but ongoing care is important if you want to maintain a prospering colony.
![3 Big Mistakes Beginner Beekeepers Make [And How To Avoid Them!]](https://beekeepingabc.com/wp-content/uploads/2020/11/3-mistakes-beginner-beekeepers-make-90x75.jpg)

![Move over ducks, Queen Bees quack too! [Here’s Why]](https://beekeepingabc.com/wp-content/uploads/2020/06/queen-bee-90x75.png)
![The Flow Hive 2 Review [ Vs. The Classic Flow Hive]](https://beekeepingabc.com/wp-content/uploads/2020/02/Flow-Hive-2-90x75.jpg)
![How Bees Fly [10 Facts About How, When, and Why]](https://beekeepingabc.com/wp-content/uploads/2019/12/A-Bee-Flying-90x75.jpg)

Useful